Logging In to Your Server
This page describes how to log in to your LAMP servers. UMSI has provided each of you with your own server, which is already configured with a LINUX operarating system, the Apache web server software, and the capacity to work with PHP files and SQL databases. As you work to get your servers running Omeka S, you need to get the software files, add them to your server, and configure them to run on your server.
But before you do all of that, you will need to log in to your server! There are three main ways that you can interact with your server:
- cPanel. This is a browser-based “control panel” interface.
To access cPanel, navigate to your server’s URL and append
:2083, which directs the browser to port 2083. There, you will have the option to log in with the admin username and password for your server. You can read the cPanel documentation here, though it’s probably not necessary for our purposes. - SSH. This is a terminal interface that allows you to interact with your server. The interface is a bash environment, so you should be able to run shell commands and most regular navigation and file system commands. Note that this is a restricted environment for security purposes, so it is possible that you may not be able to run all shell commands; and in some cases you may be prompted to enter your username or password to confirm permissions.
- Filezilla. This is a GUI client that is helpful for moving files to your server. All of its functions could probably also be accomplished using SFTP, which is a terminal-based protocol. But this file manager is used in some digital collections environments and provides all of the functions you will need (without learning additional commands). If you prefer graphical over text interfaces, this is for you! :-)
Find Your Server
Each student in the class has a server provided by UMSI.
Your server can be accessed at a URL formulated with the following pattern,
where YOUR-UNIQNAME is substituted with your actual uniqname:
http://YOUR-UNIQNAME.si676.si.umich.edu/
So, if my uniqname was umsifan, my server URL would be: http://umsifan.si676.si.umich.edu/.
To log in you will need a username and password. Your username is your uniqname. Your password is your UMID (an 8-digit number with no spaces) concatenated with the string -Fall2025.
So, if umsifan’s UMID was 12345678, their password would be: 12345678-Fall2025.
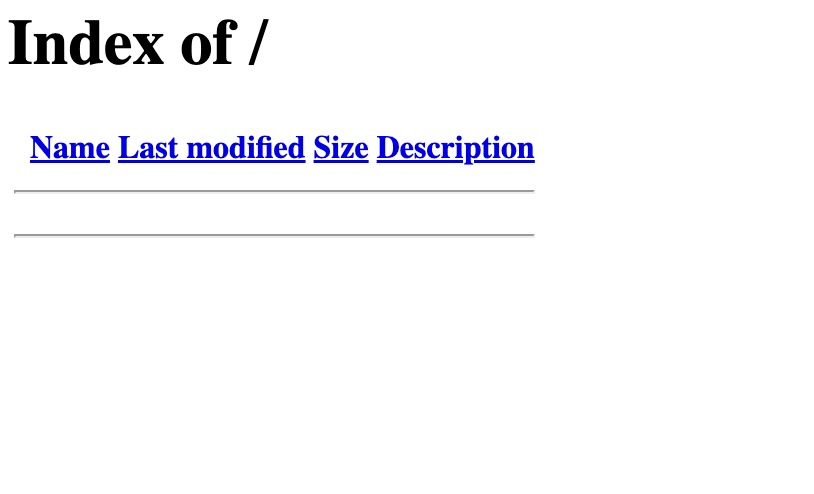
When you navigate to your server’s URL with a browser, you should see something like this:
Logging in to cPanel
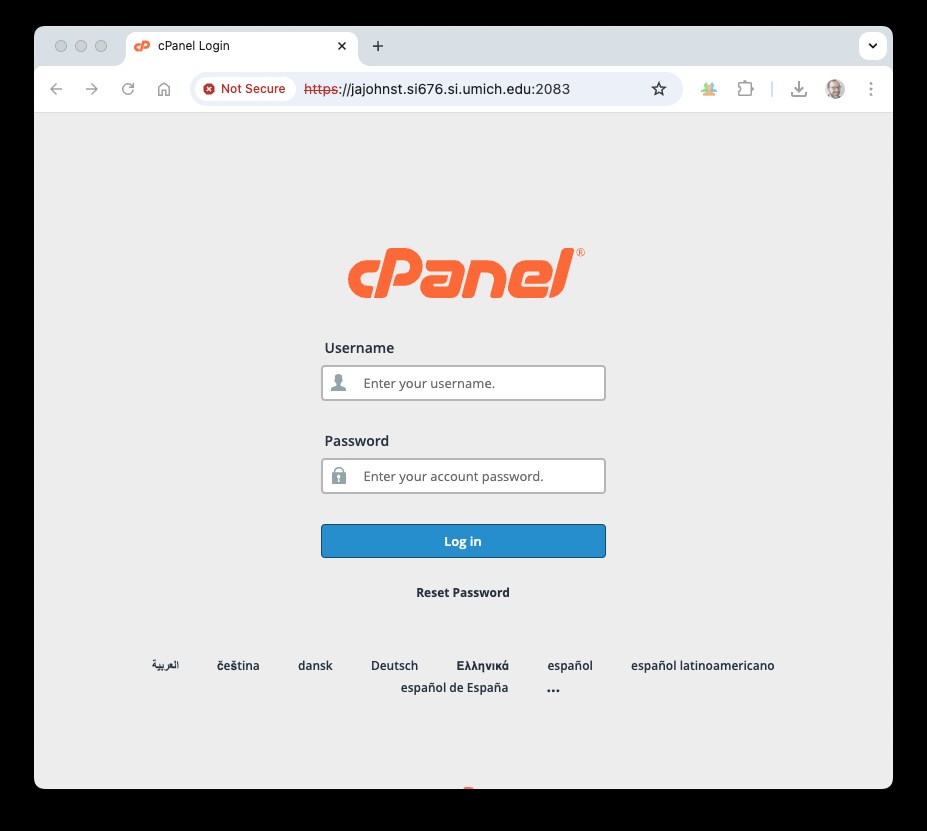
Log in to cPanel at your server using port 2083.
- Open a web browser and use the following template for your URL:
https://YOUR-UNIQNAME.si676.si.umich.edu - At this page, you should see the unconfigured server page (basically, like a listing of files available there.
- To access the server, you can use the cPanel tools. To do this, access the above url with port 2083. To do this, append a colon (
:) to the end of the URL and the number2083. For example, if your uniqname wasumsifan, you would use the following URL to access cPanel:https://umsifan.si676.si.umich.edu:2083. - The page that opens will prompt you for your login credentials. Your username is your uniqname. Your password is your 8-digit UMID number. So, if
umsifan’s UMID was 12345678, their password would be12345678. Here’s how the login page will look:
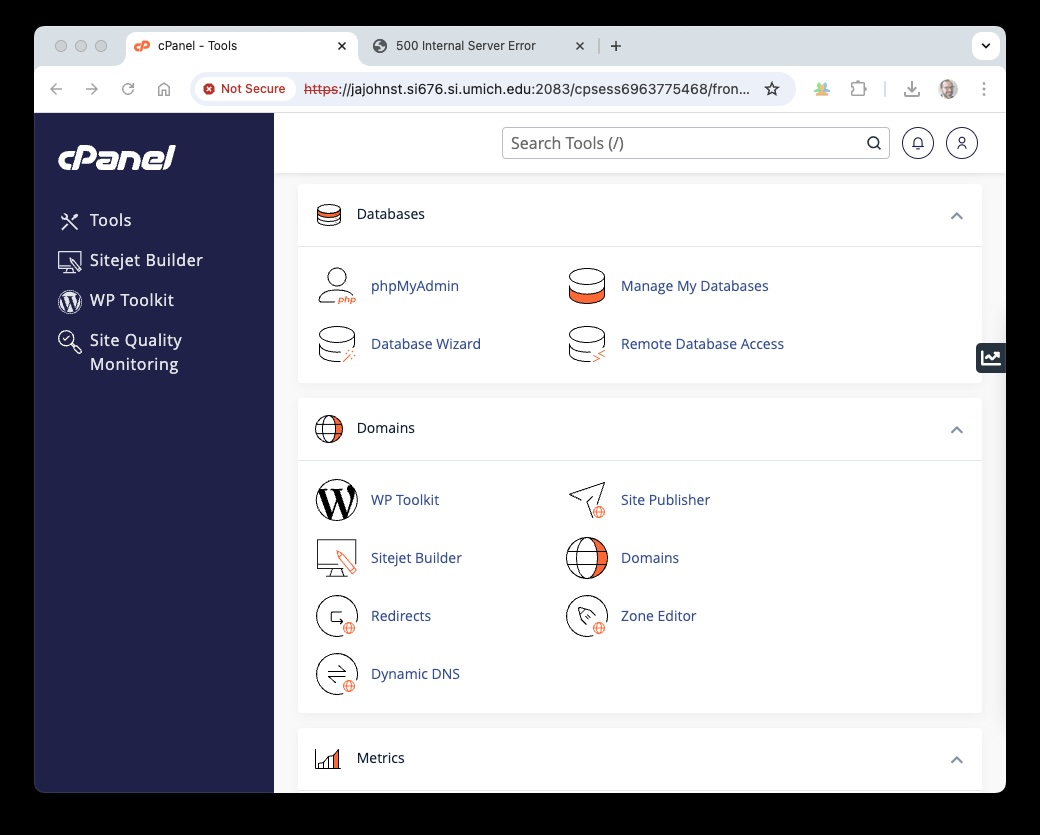
When you log in, you should see a screen that looks something like the screenshot below. Notice: at the right, you will see your user information, the name of the domain that connects to your server, the IP address, the path to your home directory (that will be where to add files when we access the server using terminal), and some other information about the setup of cPanel. See below for a screenshot:
SSH via the Terminal
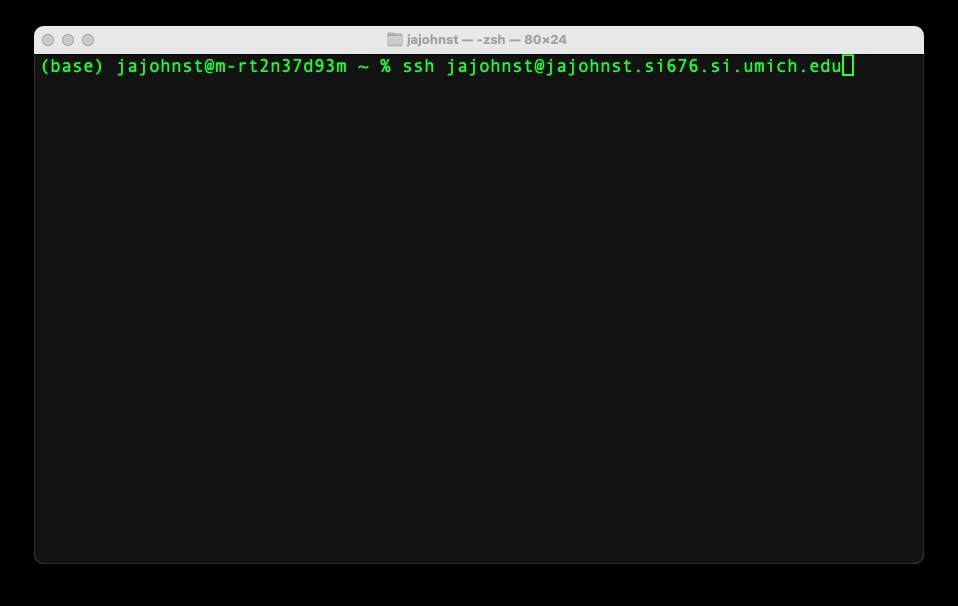
To log in with the SSH (Secure SHell), open the client that you use for command shell (e.g., Terminal, GitBash, or other). The command to access your server is ssh (secure shell).
To use this command, use the following syntax:
ssh user@domain.com
For umsifan, the command would look like this:
ssh umsifan@umsifan.si676.si.umich.edu
The command ready to execute in the terminal:
When you run the command, you will be prompted for your password. When you type the password, you will not see the response, which can make it difficult to know if you have typed the right information. But type carefully, then press enter. If your login is successful, you should see a page notifying you of University of Michigan’s IT policies, which will also ask you to select a dual-factor login method. Use the method that you are most comfortable with.
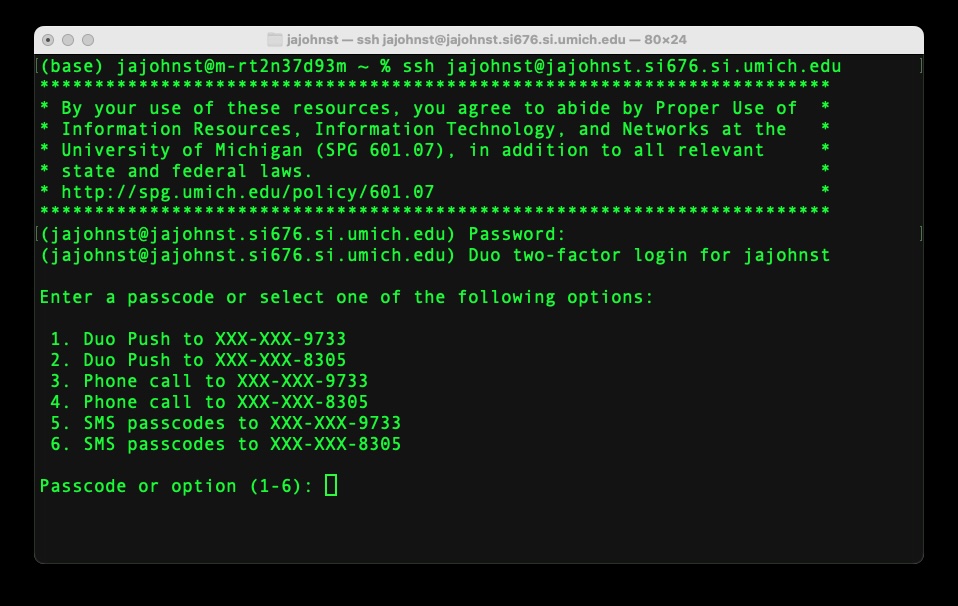
Note the dual factor option can time out. So if you are not logged in, try again.
Finally, you’ll see a page something like this, which indicates you have logged in to your server:
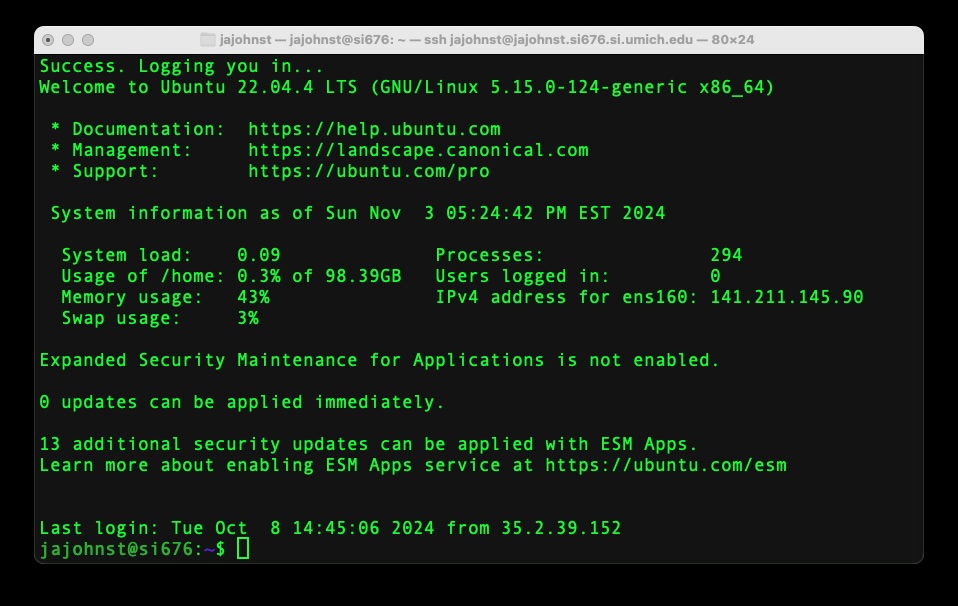
From this page, you should be able to navigate and use basic Bash commands.
The most frequent location you will need to access here is the public_html directory,
which is where HTTP-accessible files will be located.
SSH Notes:
- If you incorrectly enter your password more than three times, the server will be inaccessible for 10 minutes
- You may not be able to log in from off campus unless you are using the U-M VPN since access is restricted by IP range for security purposes
FileZilla for File Management (FTP)
The final method for accessing your server is the Filezilla client, which provides a graphical user interface allowing you to use secure File Transfer Protocol tools. The Filezilla software is available at Campus Computing sites and is also available for a 30-day trial version if you wish to download it on your own computer (see the Filezilla site for download information).
The Filezilla login process is unique, but it requires the same information as the previous two methods. Namely, your uniqname, UMID, and server domain address. Here are the basic steps:
First, open the Filezilla software (sometimes called a client or app). Your window will look similar to this:
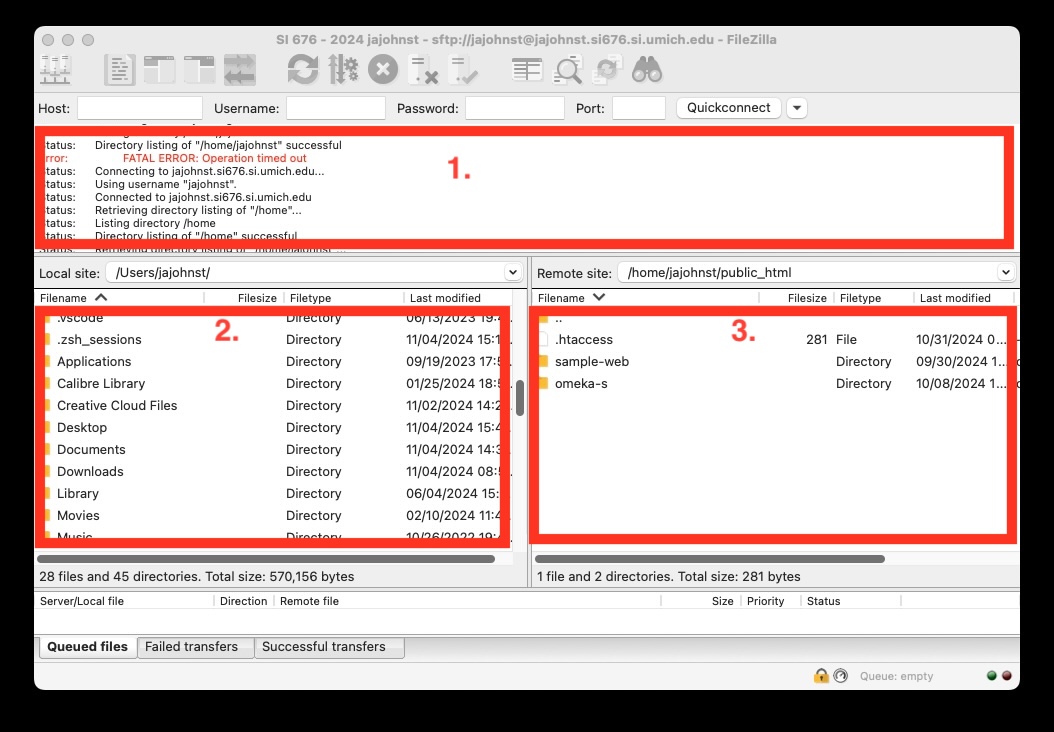
In the above screenshot, take note of the three main parts of the window.
In the area of rectangle 1., you can see the current status of the connection, any file transfers that you execute, and sometimes useful updates as to what Filezilla is doing.
In the area of rectangle 2., you have a file browser window that shows files on your local computer (in the above screenshot, it is showing the jajohnst directory in my laptops Users folder at the root of the operating system indicated by the leading slash / of path you see in the “Local site:” bar above the rectangle).
In the area of rectangle 3., you see a similar file browser. This file browser, however, shows the files on your server. (At least, it will show those files when you are logged.) Note the path bar above the rectangle with the label “Remote site:”.
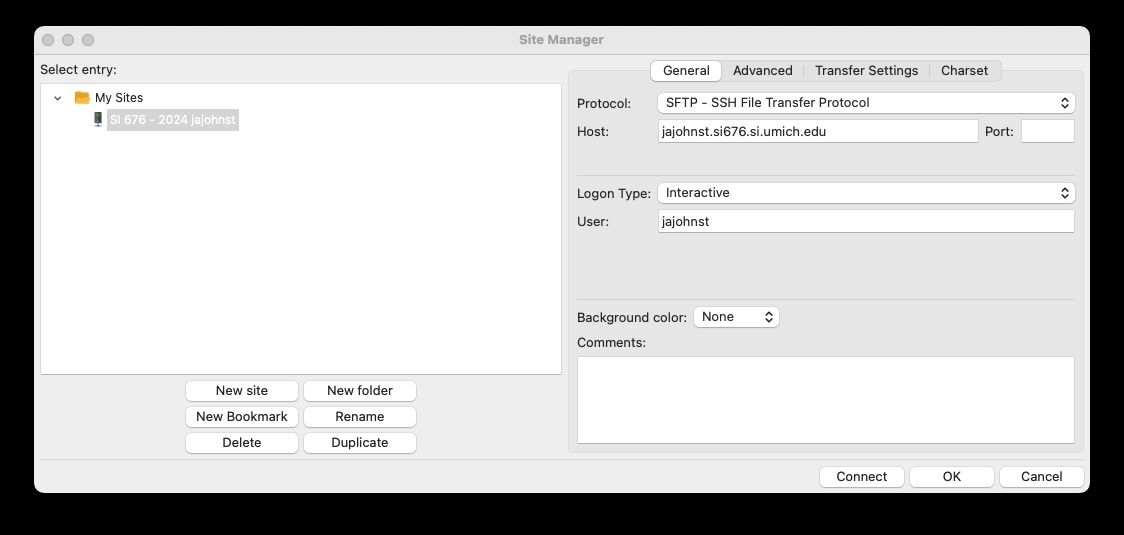
Second, locate the “Site Manager…” window (as shown in the above screenshot). This should be found near the top of the “File” menu. Use this window to set up your login. In the box with the “Host:” label, type your server’s URL. Choose “Interactive” in the “Logon Type:” so that you can navigate through the dual-factor authentication process. Finally, in the box labeled “User:”, type your uniqname. When this information is completed, click the “Connect” button.
After you request to connect to the server, you will have the option to select how to comlpete the dual factor process. This window may look a bit misleading as the only option is to enter information in a field with the label “Password:”; despite the fact that you are not entering a password, select the option for dual factor authentication that you want. The rest of the process will follow through on your second device or whatever authentication process you usually follow.
Finally, you are logged in to the server via Filezilla. You can now move files from your local computer to the server, or from the server to your local computer, by clicking and dragging and dropping. similarly to how you would do so in a graphical file browser window (like “Explorer” or “Finder”). Note that you may on some occasions be asked to confirm or renew your login (the password or dual factor process may repeat).
It may take a few moments to get set up, but once you get Filezilla working, hopefully you will appreciate how this tool assists the file transfer process.